Amazon FreeRTOS
Amazon FreeRTOS is an IoT Operating System that is for microcontrollers that can connect to Cloud. It has lots of features but the one that got my attention is OTA (on-the-air) updates which means you do not have to connect your controller to PC every time you need to flash your updates. Just schedule your updates and store in the Cloud and then Amazon FreeRTOS will take care of the rest.
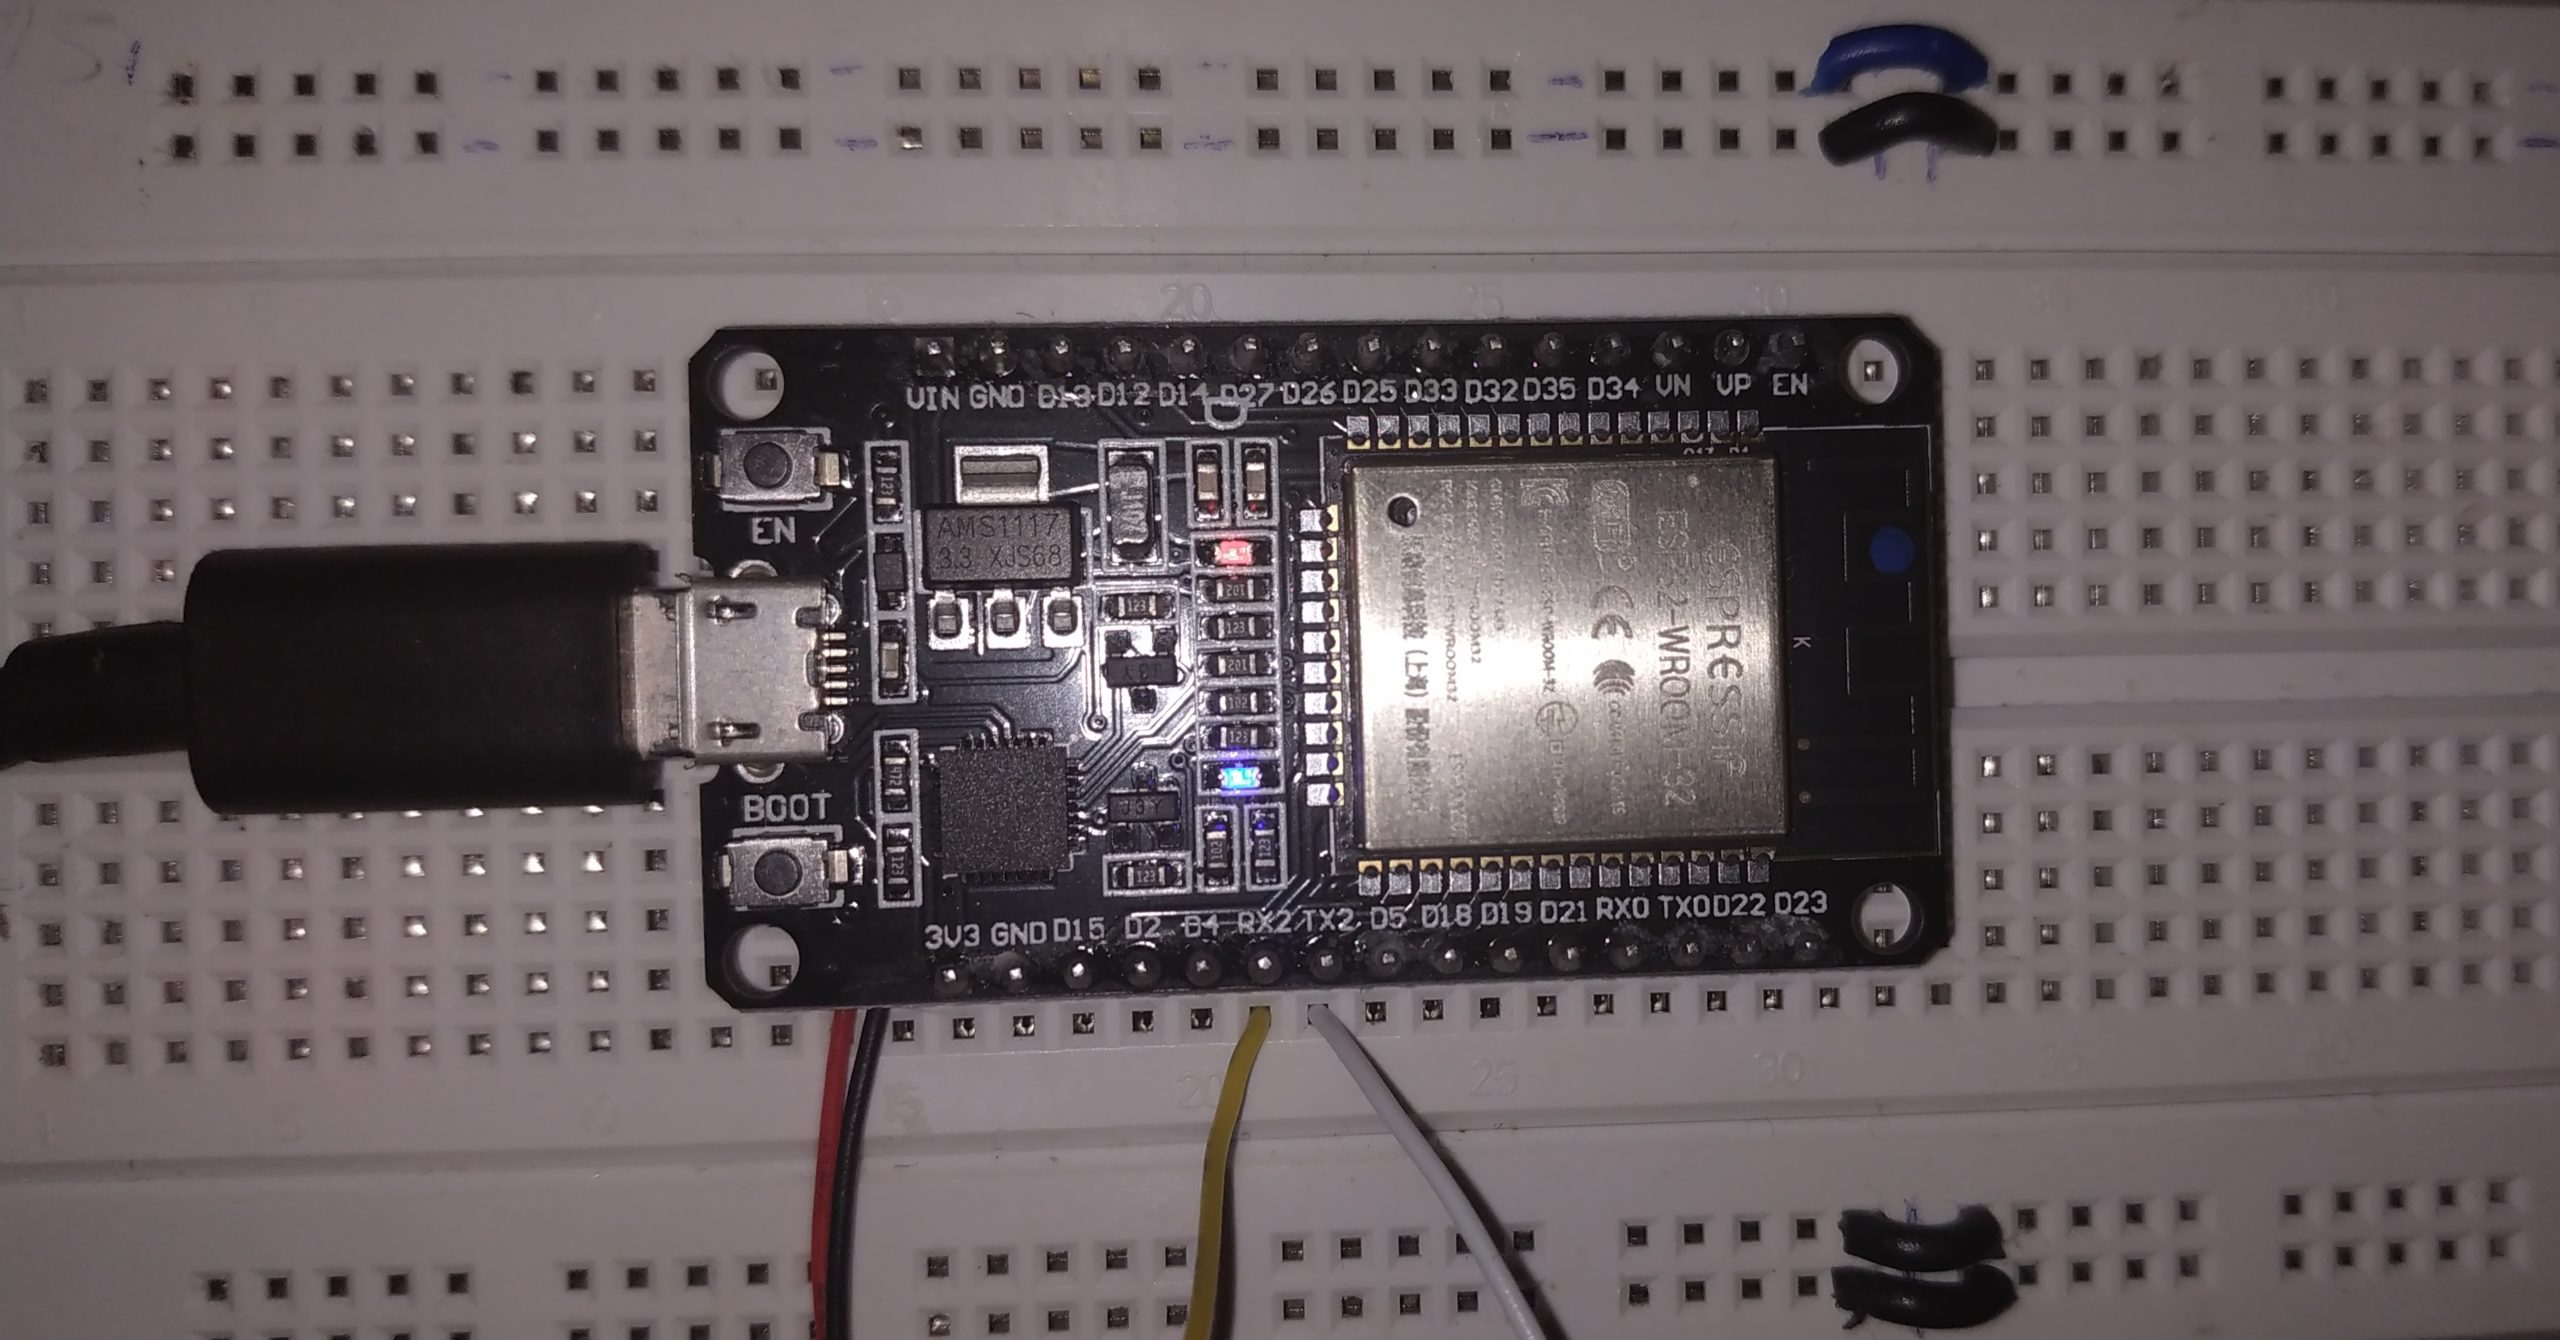
Along with the above feature, you can add your own features related to your particular controller but make sure you have proper requirements ready to choose your board. To know basic advantages of setting up goals, please refer my blog about requirements (only if you have enough time). I have used ESPRESSIF’s ESP32-DevKitC to show an example to add features in the code. When I say code, please follow the instructions provided in AWS Getting Started guide. It clearly gives instructions to download and modify the source code for demos. But what the website lacks is info about adding board specific features.
When you download the code, you will have a folder named “amazon-freertos“. You can find all the AWS supported vendors inside “vendors“. “espressif” is one of the vendors. The main program is provided in “vendors/espressif/boards/esp32/aws_demos/application_code/main.c” for demos and in “vendors/espressif/boards/esp32/aws_tests/application_code/main.c” for tests.
Adding Features
All the features related to the board is made available in “vendors/espressif/boards/esp32/aws_demos/application_code/espressif_code“. You can add your own feature in this location. Follow the steps below to add a feature:
- Create a folder with your feature name (there should not be any spaces in the name) inside “vendors/espressif/boards/esp32/aws_demos/application_code/espressif_code“.
- Create CMakeLists.txt inside “vendors/espressif/boards/esp32/aws_demos/application_code/espressif_code/<your_feature_folder>“.
- The CMakeLists.txt should contain the following data:
set(COMPONENT_ADD_INCLUDEDIRS include)
set(COMPONENT_REQUIRES )
set(COMPONENT_PRIV_REQUIRES )
set(COMPONENT_SRCDIRS .)
register_component() - The 1st line (i.e.,
set(COMPONENT_ADD_INCLUDEDIRS include)) is to use “include” directory. Create “include” directory inside “vendors/espressif/boards/esp32/aws_demos/application_code/espressif_code/<your_feature_folder>” and then you can add all your header files inside this directory. - It is mandatory that all your source files (.c files) should be inside “vendors/espressif/boards/esp32/aws_demos/application_code/espressif_code/<your_feature_folder>“.
- Edit “vendors/espressif/boards/esp32/CMakeLists.txt“. Add your “include” directory under kernel_inc_dirs as below:
"${board_dir}/application_code/espressif_code/<your_feature_folder>/include"
Now, when you compile your code as given in AWS, your feature will also be added but do not forget to add the call to your functions in “vendors/espressif/boards/esp32/aws_tests/application_code/main.c“.